Monday 2 December 2013

Bursting the rust bubble

I am lucky enough to own and drive (when time and weather permits) a bright red, highly polished replica Bugatti- type 35 which always attracts allot of attention and interest wherever I go. People often ask to have their picture taken with it and occasionally mistake it for the real thing. Every once in a while an enthusiastic passerby, full of awe and excitement will look at me with wide eyed expectation and hope and ask “Is it real?”

In that moment I always feel like an adult being asked by innocent and child, full of anticipation and wonder, if Father Christmas really exists. So I hesitate for a moment, trying to decide whether to tell them what I think they want to hear....or tell the truth and burst their bubble. I got that same bubble busting feeling recently when I went 
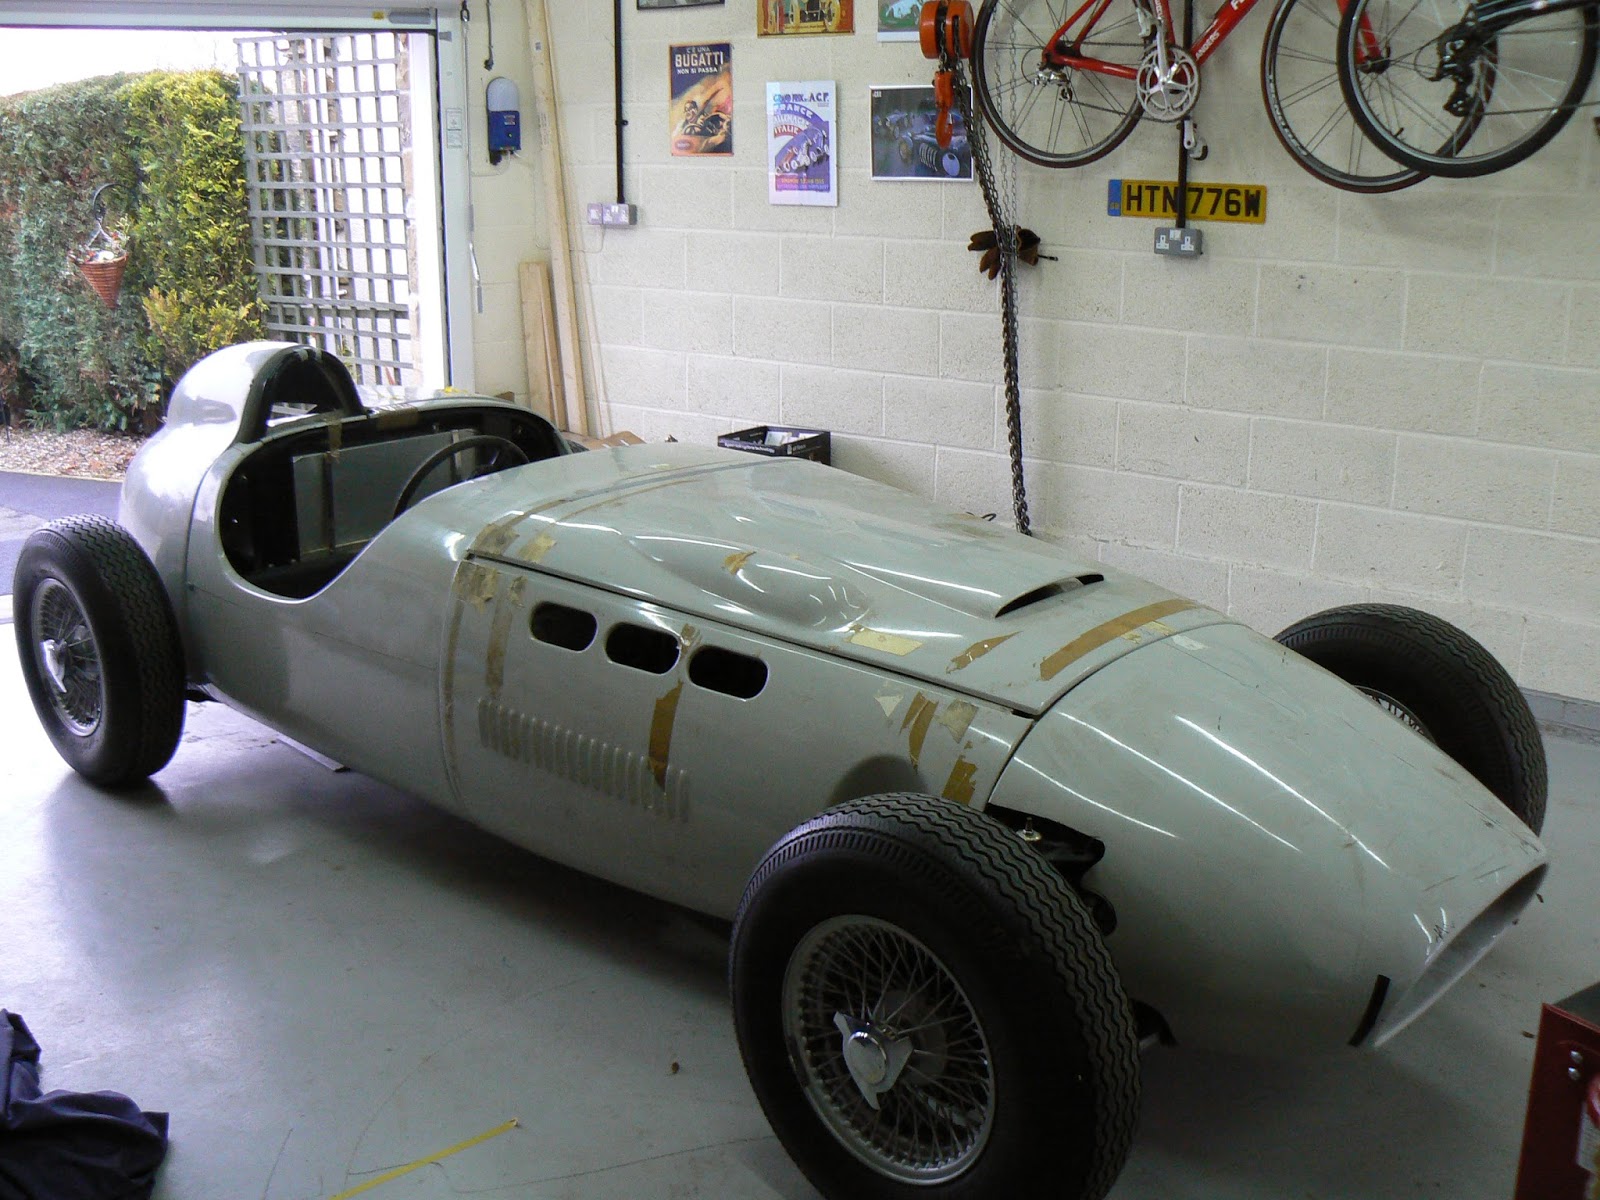
to visit a customer who was hoping to carry out a DIY budget restoration of a cherished but seriously rusted barn find.
 
Car restoration is a labour of love which rarely makes practical or financial sense. Very few restorers ever hope to get back what the car cost them in financial terms let alone labour costs. For most of us it’s the realisation of a dream that drives us to do it and of course the love of a particular marque. But they say that love is blind so I suppose it’s no surprise to find the occasional customer whose expectation of the amount of time, work and cost involved in restoring and repairing their beloved project is seriously underestimated.

Removing the paint reveals the damaged metal below

I often meet people who underestimate the full extent and effect of rust penetration on their much loved project but I never enjoy being the one to tell a customer that their assessment of a “little bit of rust here and there” is probably very optimistic. Or that blasting only the visibly rusted area of a panel will not result in the quality paint finish they are hoping for.

 
Rust is always malignant and by the time you see the tell tale signs of bubbling paint on the body work, moisture has always penetrated the metal work beneath. A few spots here and there are never the whole story and removing the paint or even the panel is the only way to reveal the full extent of the damage beneath. Superficial damage can be easily hand sanded or blasted away to reveal a clean substrate which is ready to prime but with pitted surfaces it is essential to ensure that the pits are free of rust before an epoxy primer is applied to build up the surface.


Bubbling paint is the sign of water penetration


Where rust damage is so advanced that it has caused the metal to flake away the whole area must be removed and a new section welded in or on to rust free metal. Welding on to rust is not an option as it is not a stable surface and significant rust penetration of panels and joints will ultimately affect the structural integrity of the cars bodywork, so safety in the event of an accident could be compromised.


 None of the challenges presented by rust are insurmountable of course and our precision blasting equipment and media make short work of any rusted surface. So rust busting is never a problem but bubble bursting however...well that’s not always so easy. 


Tuesday 5 November 2013

Try your hand at ....Upcycling


The current trend for renovating old furniture known as Upcycling has really taken off and offers a cheaper and more stylish way to decorate your home than with modern, imported, mass produced furniture. There are a number of shops and online suppliers offering a range of second hand restored and painted furniture in a colour of your choice at a reasonable price but for those of you who want save even more money and have the satisfaction of creating your own unique style, this blog is for you.

The best place to pick up a bargain piece of furniture  is at a local auction, house clearance sale, jumble sale, charity shop, Facebook for sale pages, Preloved, Gumtree, Freecycle and the for sale board in the local newsagents or supermarket. Look for something which is as cheap as possible and free of woodworm or rot but don’t be put off by dark wood stain or a dour 1950’s appearance. Cracks, dints, chips and scratches can be filled, filed, sanded and painted over so don’t worry either if it’s not a pristine piece.

The dark wood stain hides a lovely oak chest
 I bought this chest of drawers at a garage action recently and although it looks a bit shabby it is made of oak and has some really nice period features as well as some lovely decorative drop handles. It was probably a bedroom piece originally but will work nicely as a hall table.

The first job is to check for any loose decorative pieces and remove them prior to sanding. Don't forget to replace them prior to painting. Then remove the drawers and take off the handles. If you intend to restore any part of your piece as unstained, varnished wood then you will need to carefully remove any traces of old varnish, paint or stain by either sanding or careful use of a gel stripping chemical product such as Nitromorse.  You could also use an electric hot air stripper but do take great care not to burn yourself or scorch the furniture!

This stage can be very tedious and time consuming to achieve by hand but a thorough job at the preparation stage will make all the difference to the finished effect. When stripping wood I use our precision blasting equipment loaded with baking soda, the gentlest of mediums for this process which achieves fantastic results in a fraction of the time and doesn’t harm the wood. For the decorative metal handles I use the abrasive below. Our equipment makes a great job of restoration, so if you don’t have the time and patience to do your own furniture preparation, you can always bring it to us here at Yorkshire Precision.

If you intend to paint your piece then it’s not necessary to strip the surface materials off completely and providing that it is evenly varnished all over then you can key the varnish ready for the new paint with a light, even  sanding all over. If the varnish is missing in places then you need to ensure that there is a smooth transition from the varnish to the bare wood as this will show up once it’s painted. 
 
At Yorkshire Precision we achieve this by using the media at a lower pressure to key the existing varnish or paint and soften the edges to blend it into the surface material.

The pretty sprig of fuchsia on these original
handles could be polished or painted.
Now the hard work is all over its time to get painting! Make sure that your piece is clean, dry and completely free of dust and mask off any areas that you don’t wish to paint. If you intend to put a clear varnish or stain on any part of the furniture do this first as it’s easier to wipe the paint off the varnish. Check the paint manufactures instructions for recommended number of coats, primers and drying times etc and ensure your piece is left in a dust free environment to dry.
 
Once the paint is completely dry you can use a tinted wax or a spray lacquer to protect or age the finish or even stencil on some decorative detail in a contrasting colour. If the handles are worth keeping then you can clean, stain, paint or polish them and put them back on. If you want to make a bit more of a feature of your piece you could also buy some more unusual handles to really make your piece standout.

So why not have a go at creating your own upcycled furniture and if you get stuck at the prepping stage and want an effective and easy alternative, just give us a call!

Thursday 11 July 2013

Full steam ahead!


During the summer months when the country shows take place, we like to take a well earned rest and enjoy a day out at the local steam traction engine event in a nearby village. Despite being a couple of petrol heads and lovers of sleek and speedy sports cars, we can never fail to be moved by the power and majesty of these huge, heavy engines.
All the fun of the fair!
As restorers ourselves we admire the time and patience involved in renovating and maintaining these magnificent machines.  The hours of work and the endless elbow grease involved is very impressive as well as the individual style and character of these workhorses of yesteryear

Although they are all beautiful in their own way, there are some which really stand out for their glossy paintwork, gilt trim and polished metals. There are also the odd one or two that are clearly unfinished projects or a work in progress. I can’t deny that the temptation to take the rusty ones home to blast and polish is very appealing.

Could this be our next rust removal project? ......... Perhaps I should have left my business card on his footplate!

Thursday 4 July 2013

Make Hay while the sunshines


With such a wet and windy summer this year our farming friends and neighbours have some pretty narrow windows in which to cut and bale their hay. So when a local farmer asked us to strip down a baler panel urgently and return it the same day we were happy to oblige.
An electric sander is no match for stubborn paint

He had tried in vain to strip it with an electric sanding tool but the layers of paint were too numerous and too thick to remove. So he asked if we could help and of course we were delighted to rise to the challenge. 


 Our powerful blasting pot and specialist media made short work of the thick yellow paint and the panel was soon returned to its original, pre-painted finish without warping or damage to the surface.

Paint free and perfect for priming and painting
We coated the panel with a fine layer of penatrating oil which is light and easily washed off but protects the exposed surface from flash rusting in the period between paint removal and priming and it was ready to go. Its owner was delighted with the finish and we were pretty pleased with it too. Another satisfied customer!

What do you give a man that has everything?...A headache


Well Howard has a saying that you can never have enough of a good thing and I suppose that must be true. It would at least explain why having a classic car, a workshop, tools and a pile of car manuals would not be enough for someone with a desire to build something from the ground up.
So the day after we had decided to drive down the country to become the proud owners of a replica Type 35 Bugatti, we headed back down the country again to buy an unfinished kit car project . But I need to go back a step. I’m making it sound a lot easier than it was to decide on what we wanted to build or even if we should build at all but before we could track down an available kit car we had the difficult task of deciding what kit to choose.
A classic car and workshop was clearly not enough!

The Ronart W152
 hAlthough it was a difficult task it was far from unpleasant really, as it gave us an excuse to visit a variety of car shows and events looking for inspiration. When we had finished kicking tyres at a number of shows, auto jumbles and in car parks, we found ourselves at the Stoneliegh kit car show in 2007. After stroking the curves and sitting behind the wheel of what felt like hundreds of kit cars including a large number of Cobra and lotus 7 type replicas, we finally settled on a Ronart W152 

The car appealed to both of us instantly, and the minor practical obstacles of not having anywhere to store it at the time, neither of us having any experience of building a  car and not actually being able to test drive one of these before we bought the kit  were not enough to put us off. Nor was the prospect of owning yet another open top car in one of the wettest countries in Europe!

We managed to secure a Ronart kit at the rolling chassis stage and tracked down a suitable donor car  in the form of a Jaguar  XJ6, series 3, 4.2ltr with a manual gear box on ebay so our next project was underway.

The Ronart  is an ongoing (mainly winter) project which keeps us busy on  gloomy wet weekends. The body panels are now all in place and the component kit parts are  sorted and stored in the workshop. As some of the parts were missing and the ones that were there didn’t all have right part numbers on them, it gave us quite a headache while we tried to make sense of it all. It’s was a bit like trying to do a jigsaw when the lid of the box is missing!
 
 
That all seems like such a long time ago now but we did learn a valuable lesson which has stayed with us....Never tackle a job unless you are armed with a large mug of tea and a supply of biscuits!